

Comprehensive Guide to Installing UPVC Pipes and Fittings
- Category: Articles
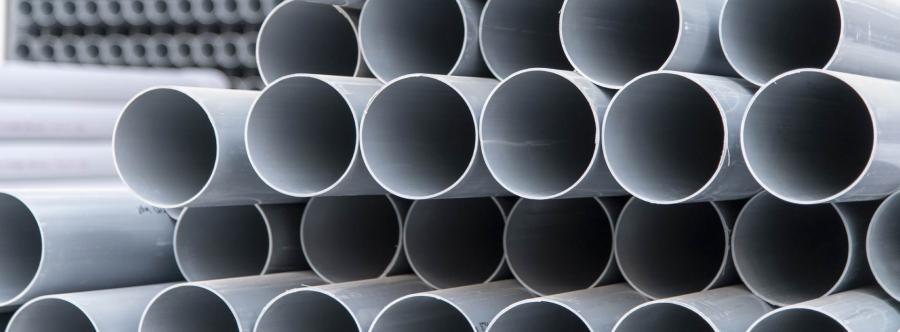
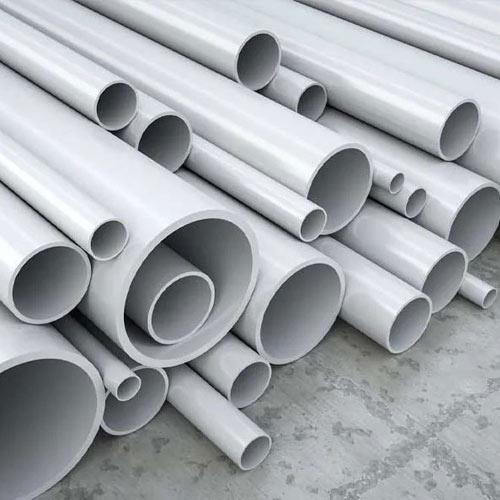
Installing UPVC pipes and fittings is a crucial step in any construction project. Due to their features such as corrosion resistance, lightweight structure, and easy installation, UPVC pipes have become one of the most popular options for plumbing systems. In this article, we will review the installation steps for UPVC pipes and fittings and highlight key considerations for proper installation.
Advantages of Using UPVC Pipes
Before discussing the installation process, let’s first look at the benefits of UPVC pipes:
- Corrosion Resistance: UPVC pipes are resistant to chemicals and moisture, which extends their lifespan.
- Lightweight: These pipes are easy to transport and install without the need for heavy equipment.
- Easy Installation: The fitting system of UPVC pipes is designed for quick and hassle-free installation.
- Cost-Effective: The cost of purchasing and installing UPVC pipes is lower compared to other piping materials.
Steps for Installing UPVC Pipes and Fittings
- Preparing Tools and Materials
Before starting the installation, gather the necessary tools and materials. The required tools include:
- UPVC pipes
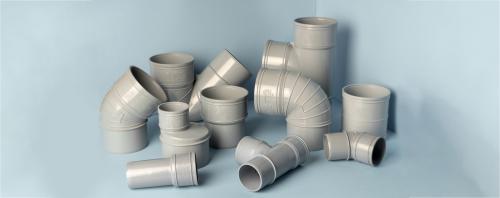
- Fittings (angled, straight, etc.)
- Hand or power saw
- Special adhesive for UPVC pipes
- Clamps
- Measuring tape
- Reviewing Plumbing Plans
Examine the project’s plumbing plans and determine the installation locations for pipes and fittings. Ensure that the design meets the project requirements.
- Cutting the Pipes
Use a saw to cut the pipes to the required lengths. Make sure the cuts are precise and smooth to ensure proper connections. After cutting, use fine sandpaper to smooth the edges and remove any roughness.
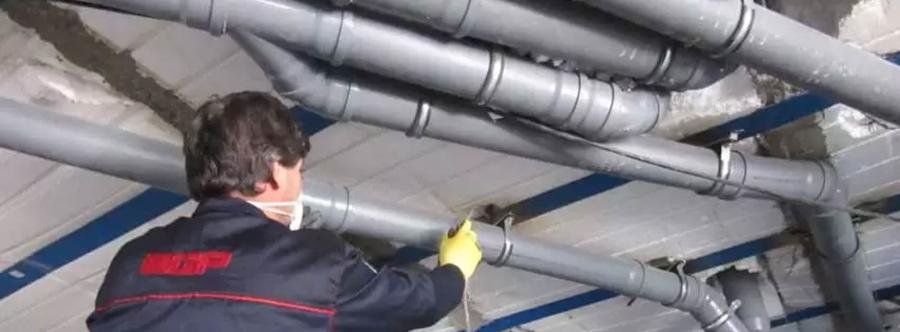
- Installing the Fittings
Select the necessary fittings and use a special adhesive to connect the pipes to the fittings. At this stage, ensure that the fittings are fully bonded to the pipes with no gaps. To connect them properly, first apply adhesive to the pipe edge and then to the inner edge of the fitting. After inserting the pipe into the fitting, hold it for a few seconds until the adhesive sets.
- Leak Testing
After completing the installation, pressurize the plumbing system with water to check for leaks. If any leaks are detected, inspect the pipes again and reinforce the fittings.
- Covering the Pipes
Finally, cover the pipes with appropriate insulation to protect them from environmental damage.
Key Considerations for Installing UPVC Pipes and Fittings
- Temperature Management: The adhesives used for UPVC pipes perform best at specific temperatures. Always follow the manufacturer’s instructions.
- Using the Right Tools: Ensure your tools are in good condition and suitable for the job.
- Precision in Installation: Carefully follow each installation step to avoid future issues.
Installing the Fittings
Select the required fittings and use a special adhesive to connect them to the pipes. Ensure that the fittings are fully bonded and that there are no gaps. Apply adhesive to both the pipe edge and the fitting’s inner surface. After inserting the pipe into the fitting, hold it in place for a few seconds until the adhesive sets. Keep in mind that drying times may vary, so follow the manufacturer’s recommendations.
Conclusion
Installing UPVC pipes and fittings can be done easily by following the mentioned guidelines. By adhering to this guide, you can create a secure and leak-free plumbing system. Remember, the quality of installation significantly impacts the long-term performance of the plumbing system. By using high-quality products and following proper installation steps, you can ensure a successful construction project.
No Comments

Enter your comment and rate for this product...